Light & Airy - How to Use Your Presets
Follow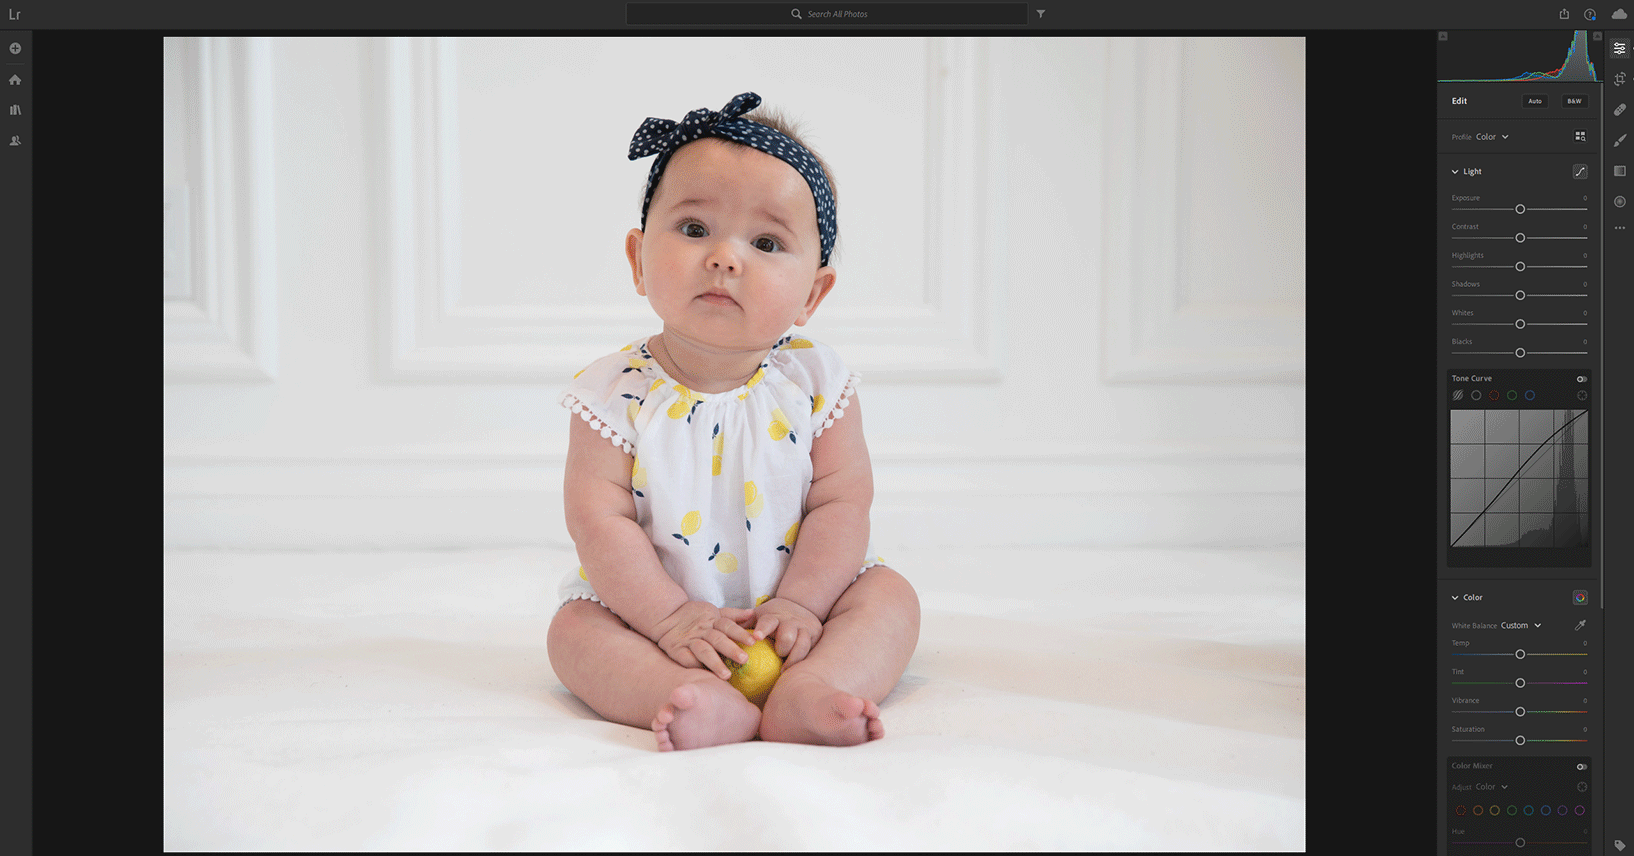 Photo Attribution: Jessica Jaccarino
The Light & Airy brand is dedicated to providing users with clean or softly color-washed edits that honor natural tones while adding uplifting and unique tonal enhancements overall. Many of the presets and tools included in the collection focus on brightening details and softening harsher elements for a bright, balanced, and wonderfully airy final edit.
While these presets change numerous settings to get that perfect tonal edit, sometimes images need an exposure boost and a white balance adjustment (settings that most photographers change at the beginning of every workflow) to best honor those extensive but subtle changes. It goes without saying that some images may be naturally dark due to darker environments or variant indoor lighting conditions and may even skew too warm or cool depending on the shooting environment. These quick adjustments fix that effortlessly!
In this article we're focused on helping you get into the groove of that perfect Light & Airy workflow for edits that only take seconds no matter your lighting environment! To begin we'll focus on the staples of Exposure and White Balance before applying your Light & Airy preset, then we'll discuss possible further steps for optional tweaks.
1. Set Your Exposure
Adjusting exposure is how you'll achieve that bright even light! Exposure is definitely one of those settings that can vary on an image-to-image basis, simply due to fluctuations in light, even indoors. While you may get lucky enough to copy settings across an entire photo set, some may need a little less or a little more exposure. Thus, we highly recommend setting this one manually. However, some photos may not need that much of boost or change, and in that case quick tools are great for getting just that little bit of push or pull.
We don't ever recommend pushing your exposure beyond +1.00, as this is typically where the lack of data in your dark image will become obvious (things may start to appear muddied or blown out, especially for JPEG images). We suggest staying in-between +.20 and +.60 if you can help it!
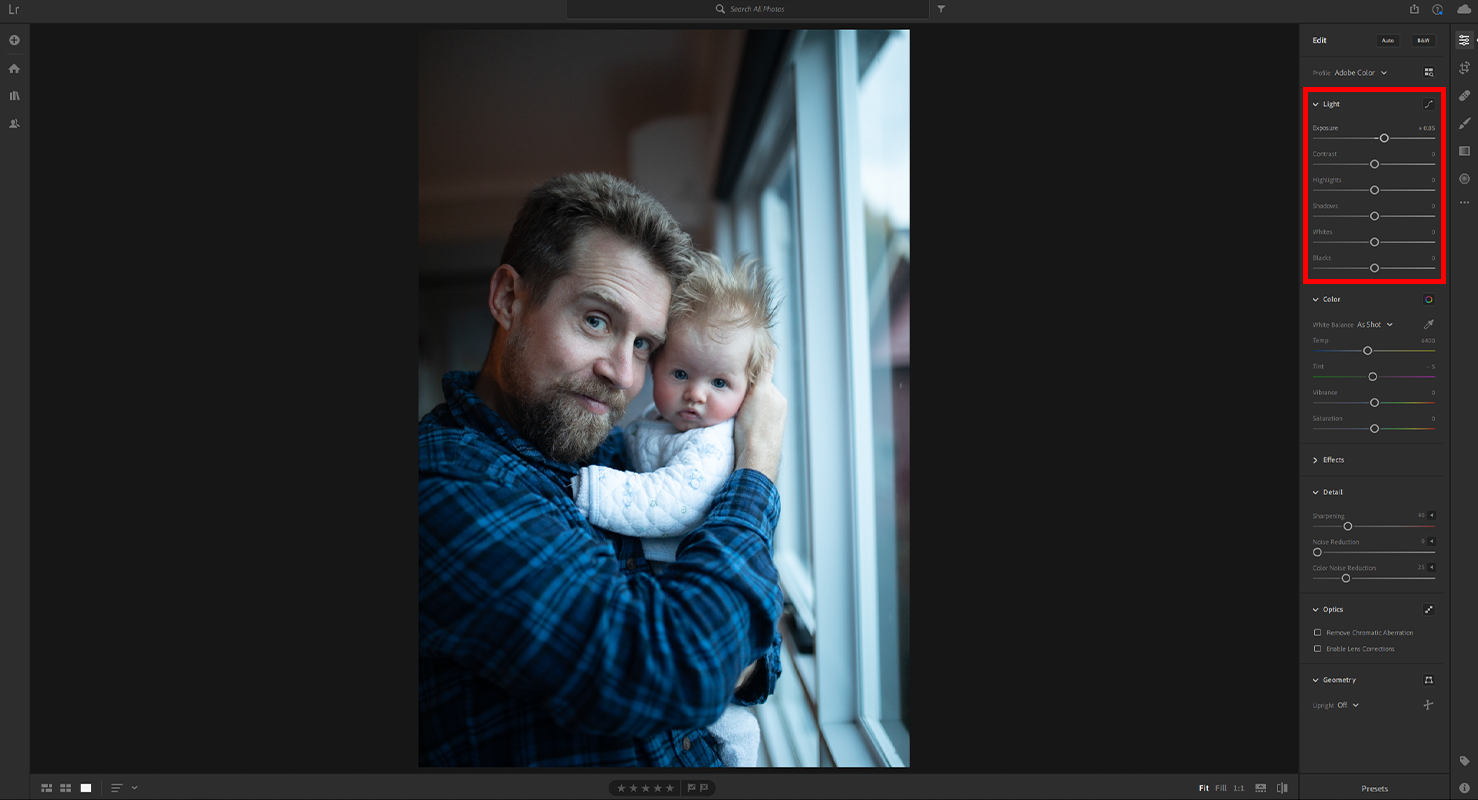
The exposure slider for the cloud-based Lightroom for desktop:
The exposure slider can be located under the Light tab in the right-hand adjustments panel for the cloud-based iteration of Lightroom for desktop.
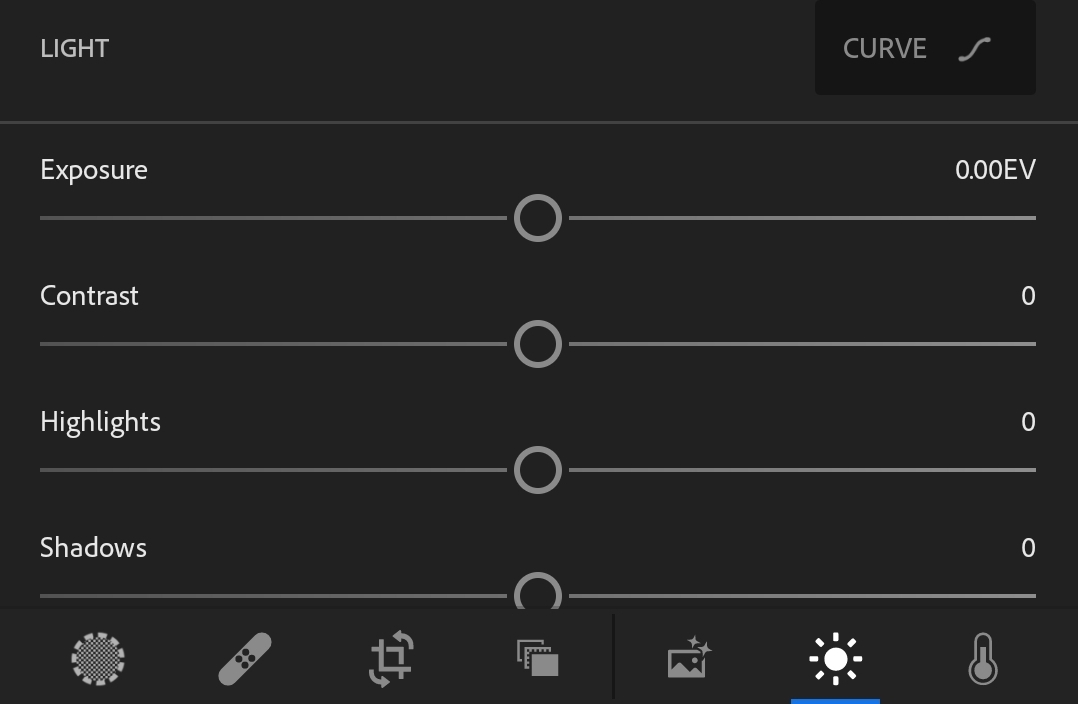
The exposure slider for Lightroom Classic for desktop:

The exposure slider can be located below the white balance options under the tone tab of right-hand Basic panel for Lightroom Classic.
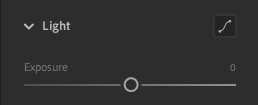
The exposure slider for Lightroom mobile:
The exposure slider can be located under the "Light" icon on the Lightroom mobile Edit toolbar.
2. Set Your White balance
We cannot stress enough that white balance is one of the most important factors in getting those clean whites! You can quickly adjust white balance with Lightroom's automated settings, quick preset tools (included in many of our collections), or manually with the Temp & Tint sliders (these sliders are located in the Basic panel in Lightroom Classic, and the Color menu for both the cloud-based Lightroom and the mobile app).
Lightroom's auto white balance options will depend on whether you are shooting in JPEG or RAW. For JPEG images these options will be limited to "As Shot", "Auto", and "Custom" as there is less data for the processor to work with. In addition to the three base settings, RAW images will also see "Daylight", "Cloudy", "Shade", "Tungsten", "Fluorescent" and "Flash". However, the simple "Auto" setting can still get you those clean whites even for JPEG!
For quick edits, we suggest using the automated settings until you've have time to familiarize yourself with manually setting your white balance. Custom white balance can be accomplished with either those Temp & Tint sliders or the White Balance Selector tool (you'll find this appearing as a little eyedropper next to your White Balance settings).
For detailed information about manually adjusting for custom white balance check out our detailed blog article HERE.
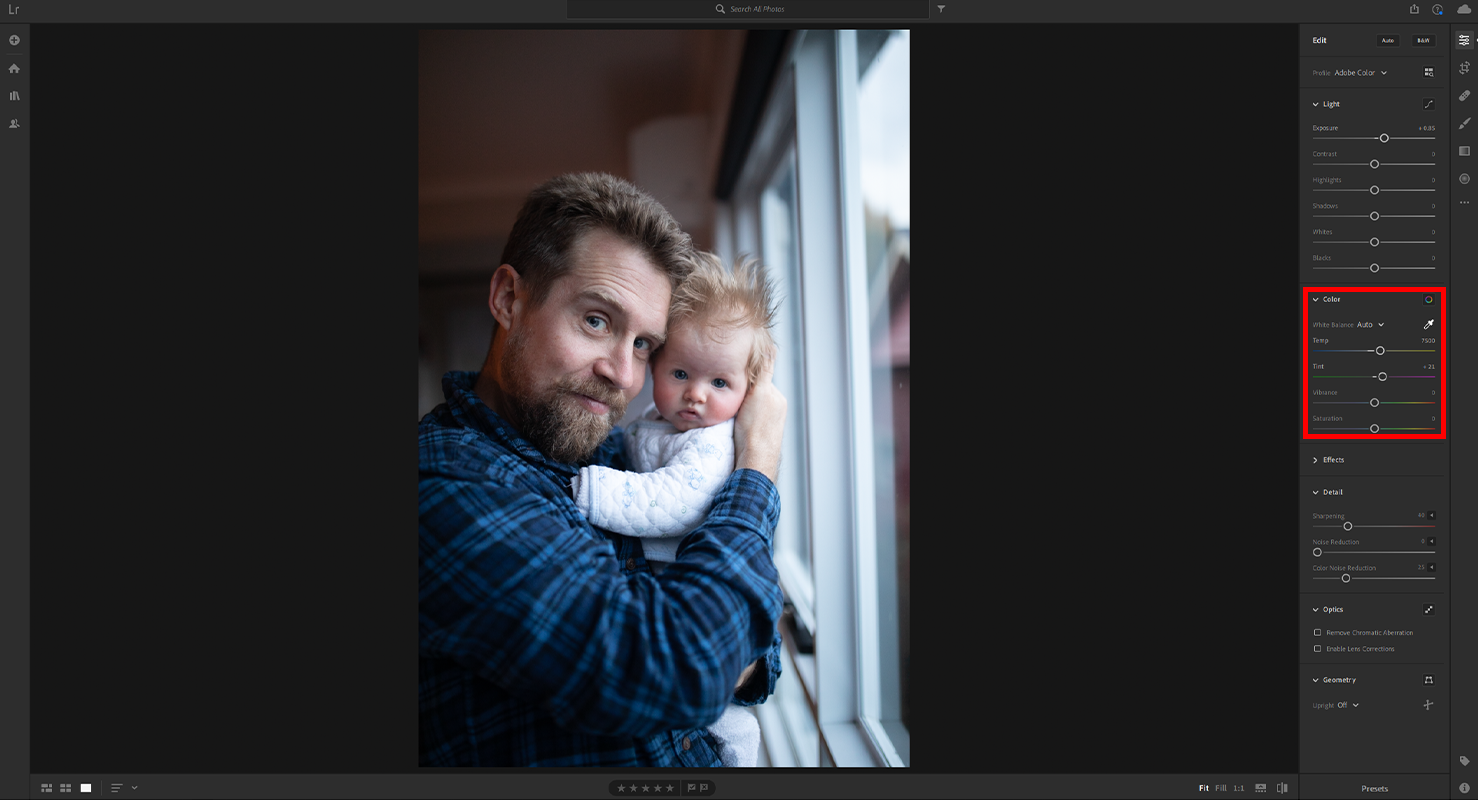
The white balance slider & auto-settings for the cloud-based Lightroom for desktop:
White balance sliders, the white balance selector, and white balance auto options can be located under the "Color" tab in the cloud-based Lightroom.
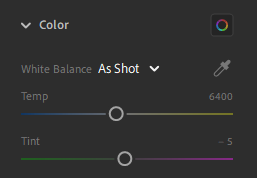
The white balance slider & auto-settings for Lightroom Classic for desktop:
White balance sliders, the white balance selector, and white balance auto options can be located above your exposure slider, just below your histogram on the right-hand side in Lightroom Classic.
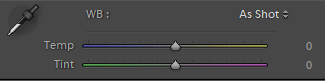
The white balance slider & auto-settings for Lightroom Mobile:
White balance sliders, the white balance selector, and white balance auto options can be located under the "Color" icon in Lightroom Mobile.
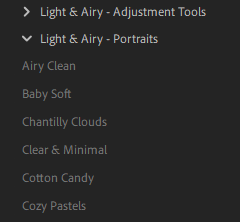
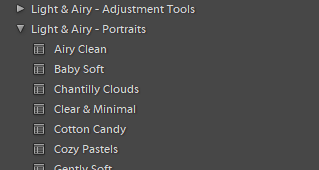
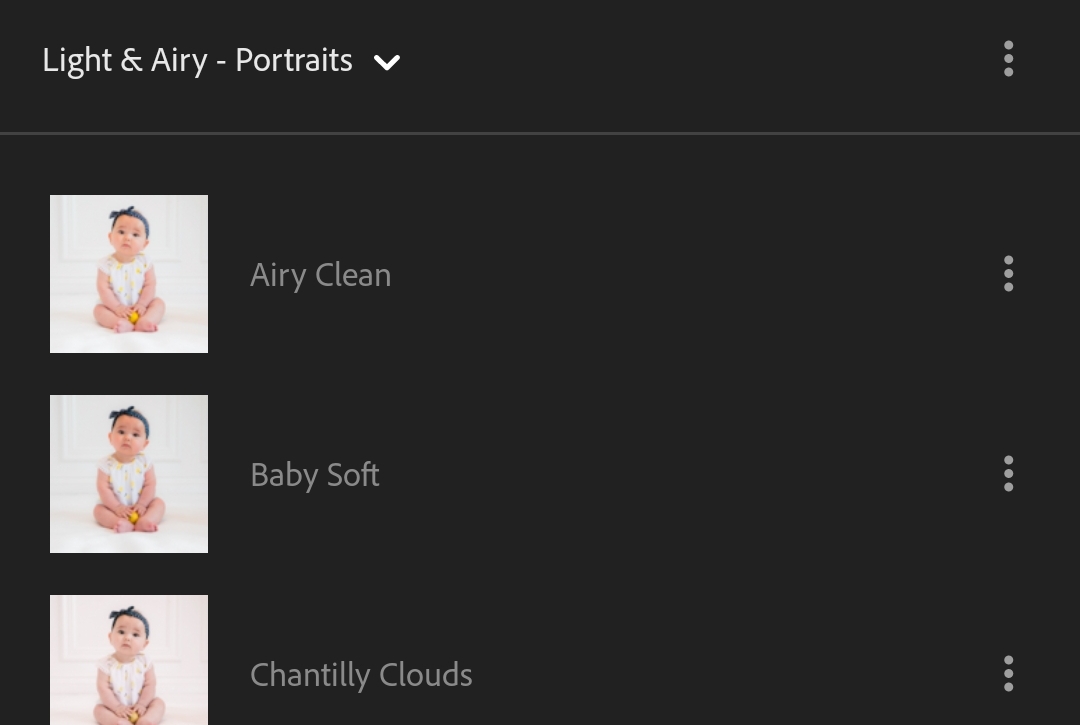
3. Apply Your Light & Airy Preset

Apply the color toning preset of your choosing, this will be the ultimate decider on your final outcome as the preset will change numerous settings to get you a clean, professional looking edit! To best decide which preset will work for your image consider your goals and the image's natural toning. Do you want to focus on soft glowing skin, making those bright whites shine, or wash your image in a soft airy color? Whatever you decide it's hard to go wrong, as each Light & Airy collection was thoughtfully crafted for stylistic versatility while honoring and maintaining that signature Light & Airy look.
Presets tab in the cloud-based Lightroom for desktop:
The presets tab can be opened in Lightroom (cc; cloud-based) via the "Presets" button on the bottom right under the adjustment sliders.
Presets tab in Lightroom Classic for desktop:
In Lightroom Classic, the presets tab should appear on the left-hand side in Develop mode.
Presets tab in Lightroom mobile:
In Lightroom Mobile, you can find your presets under the "Presets" icon on the bottom toolbar in "Edit" mode.
4. Apply Additional highlight/shadow Adjustments (optional)
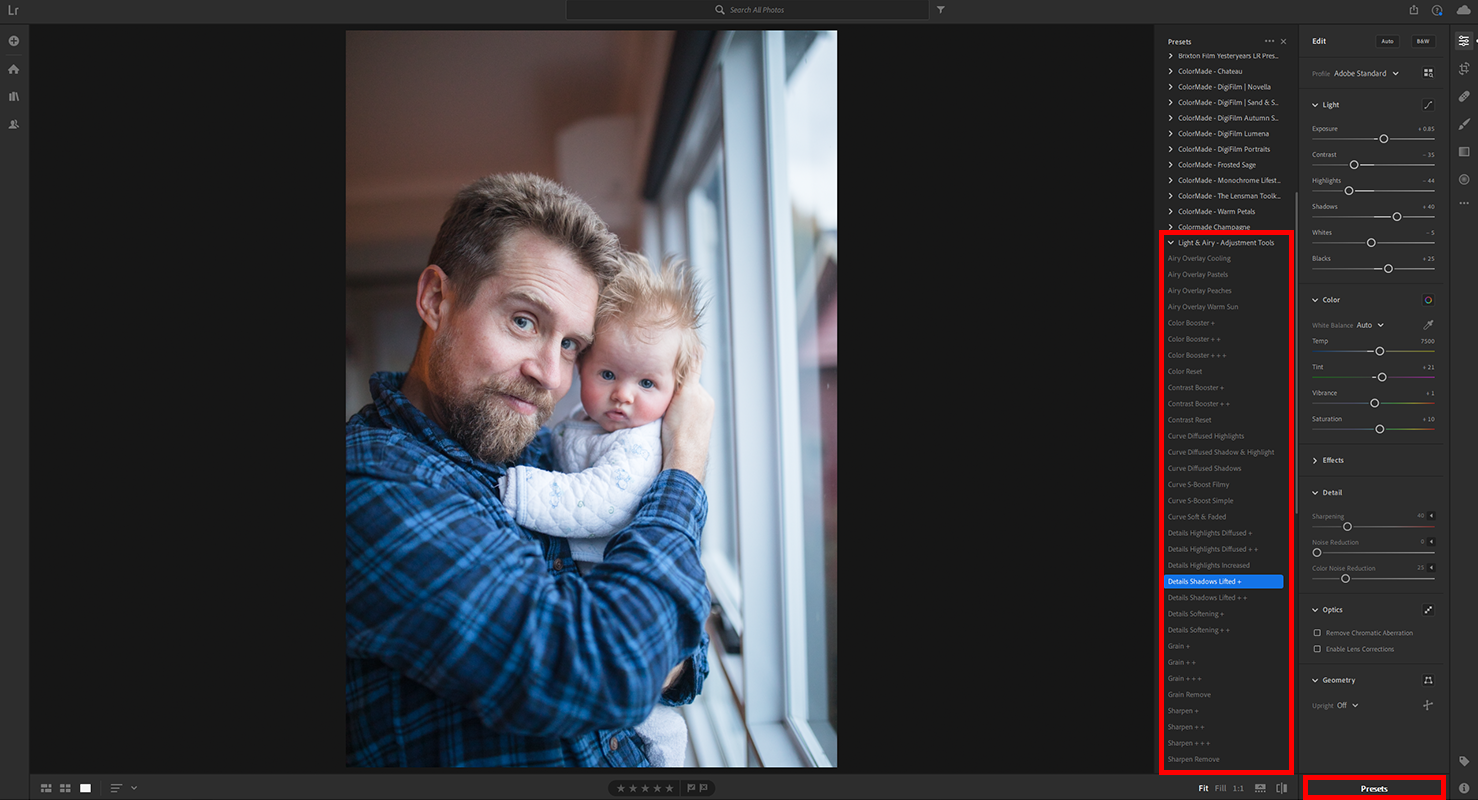

If you are still seeing some dark shadows or muted highlights and feel that your image is just out of reach of that perfect light & Airy feel you want, you can always try pulling up your shadows or boosting your highlights. The Light & Airy Toolkit comes with highlight and shadow tools for one-click options for a polished, well-balanced look & feel! The Light & Airy Adjustment Tools can be located in the same place as your Light & Airy presets for desktop. For mobile, you'll need to adjust shadows and highlights manually due to limitations of the mobile app.
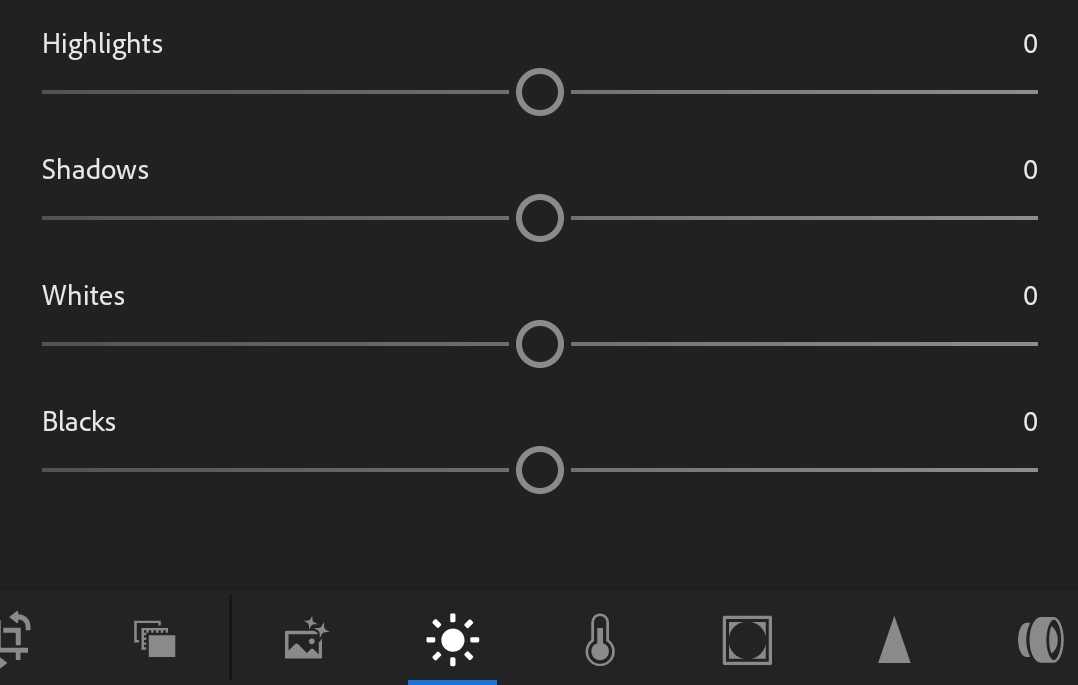
You can locate these settings in Lightroom mobile under the same "Light" icon that you clicked to access your Exposure slider! These are found under the Light settings in the cloud-based Lightroom as well! In Lightroom Classic these settings are found in the Tone panel.
Next Steps
You may also make some cosmetic corrections, experiment with closer cropping, or other small adjustments depending on the photo. Saving time on your light and toning workflow means more time to make these smaller adjustments if desired. No matter your choice, it shouldn't take hours to nail that bright, light, and airy image!
Now, the first time you go through these steps and work to familiarize yourself with the process, it may take a few minutes to get your image just right (or longer, if you are someone who really wants to understand how everything works! We definitely encourage this at some point!). However, once familiar with these settings, your tool-kits and presets, and what your particular images call for, edits like this can be accomplished in just seconds.
Photo Attribution: Siida Photography